
Who doesn’t love a good multifunctional space?! We have two bedrooms upstairs, one was our guest room, and the other was my husband’s office, but neither of them was functioning great and they ended up being so disorganized and chaotic over the years. I knew we could make them more functional, so I combined them!
An Office Guest Room Design + Plan


(Before)
Layout
This was one of the most difficult aspects of planning this room. Every single wall has an obstacle, whether it’s windows, doors, or even a little mini door that leads to a crawl space.
Ultimately, it made the most sense to have the built-in desk on the wall directly when you walk in, and the bed on the opposite wall, near the closet.
The next conundrum was where to put the TV. For the guests, it would make the most sense to have the TV opposite the bed (where the built-ins are), but that was going to leave a smaller space for my husband’s computers, plus it would be kind of…right in his face!

(We taped it out so we could visualize it, and it just wasn’t working)
The second option would be to have the TV opposite the windows. This would mean it’s to the side of the bed (not ideal), and there could be glare from the window (thank goodness for curtains!). Ultimately, that’s what we decided on!
Mood Boards + Design
Enter another really difficult decision journey! I had a lot of ideas for the colors and feel of this room and created several mood boards.


Ultimately, I went with navy blue for several reasons. First, I can’t resist a good blue! Second, I was kind of feeling going a bit bold. I tend to choose lighter colors, so thought this was a good opportunity to get out of that comfort zone a little. And finally, we’re likely going to be incorporating some Buffalo Bills memorabilia in this room, so navy went well!
Built-Ins with Office Desk
I have an entire blog post that outlines how I built these built-ins in 10 steps. They came out perfectly, and I’m honestly so happy with them!


Trimwork + Paint
It wouldn’t be a Britt + Ivy Design without some pretty trim work, right!?
Board and Batten
We decided to install board and batten up here because it felt like it fit with the style of the home, and it would create some continuity from the design I used in the bathroom. Guess what, I did the exact same thing, and it came out perfectly!
The key for me? Using ½” boards instead of a traditional 1×3, which is ¾”. This keeps them a bit slimmer against the wall which really cuts down on how much you have to clean, plus they are honestly so easy to install because they’re super smooth, and they’re a perfect size so they don’t need to be cut down!
I also like to incorporate bead moulding along the insides just to give it added dimension, but you could totally skip this part. For the top, I decided to go with some picture frame moulding instead of a flat board, simply to tie in with the trim work from the built-ins.


Window + Door Trim
With every room I reno, I switch out the window and door trim to this style. It’s so simple and makes such an impact.

Paint
For the trim, I opted to go with the same navy blue as the built-ins. It’s Benjamin Moore Hale Navy, and it’s absolute perfection. For the entire room, I didn’t even use a full gallon.
As for the walls, I wasn’t in love with the grey and blue together. It just looked a little dark and dated. Plus, the grey needed some touchups, and for the life of me, I can’t remember the name of the paint! So, I would need to update anyways.
I debated on possibly doing this wallpaper, which I did really love. But ultimately, my husband chose the paint we used in our kitchen, Eider White by Sherwin Williams. We had some leftover, so it was free and it came out great!


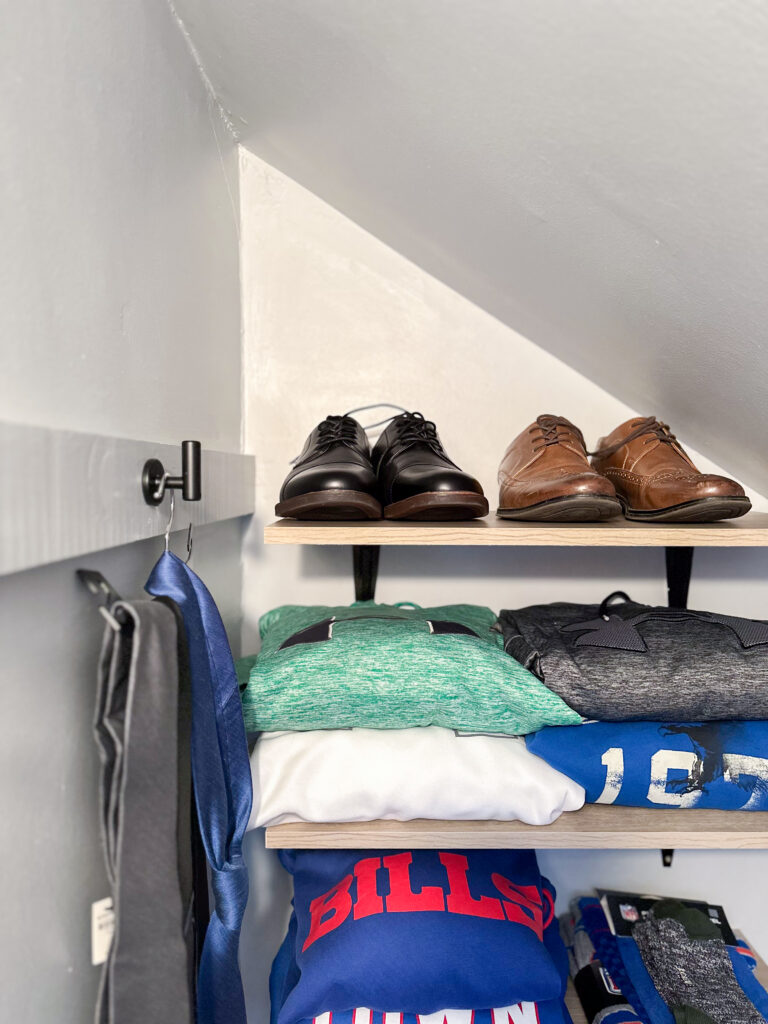
Upgrading the Sloped Ceiling Closet
If you have a sloped ceiling closet, you know that it can be pretty difficult. But, I was determined to make this closet as functional and clutter-free as possible, even with an angled ceiling.
I removed, everything, including the carpet (and found the original hardwood!), and started from scratch. With a quick coat of paint and some reconfiguring, it is SO much more spacious and functional now.


The Finishing Touches of the Guest Room Office
For this project, I waited until the very end to do this step so that it all came together.
Built-Ins
For the desk, I added this monitor stand and covered the cord plug holes with these grommets. I went with this extension cord and these drawer organizers. For the hardware, I chose these knobs, which I also used in my hallway linen closet. They are super affordable and perfect! And this absolutely perfect office chair! Then I added some small details like this tissue box cover and of course a Bills football!


Inside the drawers, I wanted a fun detail! I used hardboard to make the drawer bottoms because it’s what I had on hand, so I could’ve painted them, but why not be…extra? I had searched for fun wallpaper for a while, but the price was higher than I wanted to spend. Then it occurred to me that I could try wrapping paper instead! To install, I just used mod podge and a cheap chip brush. I coated the bottom, laid the paper down, then trimmed the excess with a blade. Then, to make sure the paper was protected, I also added a thin layer of mod podge to the top. It goes on white but dries clear, so don’t panic! Now, they’re just a fun little surprise.

Bed
I debated for so long what to do with this bed. I had considered converting it to a Murphy bed or buying a pull-out daybed. Ultimately we decided to just keep the bed we have to save money and be more sustainable. But, it’s an old Ikea bed and I wanted something a little more…extra.
I considered building a new headboard, but then I saw this faux headboard and really loved the look of it. I also considered making this, but then I saw it on sale for not much more than it would cost to make it, so I decided to build it instead. I think it adds such a fun little accent! Plus, the colors and textures go perfectly with the space.
For the nightstand, I didn’t have a ton of room, and it could only be on one side. I thought about doing a quick build and making something really simple, but then I remembered this old tray I had. I had previously painted it silver years ago (back when silver was super trendy!), and I thought it could work well if it was black instead. It would serve its purpose, and be mostly hidden. It was such a simple DIY and, better yet, it was free!
I added this chess board on top to give it some detail, and this spare light we had in our bedroom that we never used. It was a completely free and super simple fix!


Lighting
A lot of the wall lights in my house don’t have a wall plate. They require a light fixture with a switch included. But, these are REALLY hard to come by and limit your options vastly. When I upgraded my downstairs hallway, I tried the Phillips Hue light that includes a Bluetooth remote that looks like a wall switch. I loved it, and it was so easy that I decided to do the same thing here. I found this really cool light and it was such a simple swap.
The closet light is also the same issue, but it didn’t make sense for me to spend that much for a closet light, so I did upgrade it to this super affordable, and more modern looking pull switch light. It goes perfectly!


Tech + Xbox
Since the TV location wasn’t ideal, I wanted to make this area as functional as possible. I knew we’d need a place to put his Xbox, but it’s narrow. I decided to build a really simple console table using 5/4” pine boards. It was a SUPER simple DIY that took me about an hour to build and only cost $45.
I started by cutting the legs, which I mitered at the top, then I cut the top piece, which was also mitered. Then, I cut a shelf, and then a 1×3 support piece.
To install, I added pocket holes to the shelf and 1×3. I secured them to the legs to make everything nice and sturdy. Then, I just added the top, getting everything in line, and adding pocket screws to secure it to the 1×3.
Next, I wanted a little place to display his headphones and controller. I used scrap wood from the console build to make the base. I just cut out a square, then routed the edges to give it a little more detail. Then I cut some 1x2s down to create the headphone holder. I cut out a notch in the base and secured the 1x2s. With a little black paint, it was complete!
For the TV, I knew I wanted a slim mount because I didn’t want it to protrude too much, especially given its awkward location. This mount was SO easy to install. I do wish I had installed it a little further down, but I’m ok with it. I covered the cords using covers, which was also super easy.


Final Look
And just like that, the guest room is complete! Next up, I’ll be finishing my living room, but not before a fun weekend project in another house! Stay tuned.


