I built my simple workbench at the end of 2020. Since then, it’s seen quite the beating, but it’s been honestly pretty good for what it is! Now that I’m getting an upgrade with my new workshop, I think this bench could use an upgrade too!
Basement Project Recap:
- My Plans for the Unfinished Basement
- Epoxying my Basement Floors
- Painting the Basement
- Building a Basement Shelving Unit
- Fixing my Scary Basement Stairs
- DIY Basement Stair Railing
- My DIY Lumber Cart
- Workshop Pegboard Upgrade
- Building a DIY Workbench
My Simple Workbench
This was a very simple build, that only took me a few hours to put together! I used these free plans from Honeybear Lane, with one minor adjustment. I didn’t have a great way of cutting down the plywood top to the right size at the time, so I ended up using a couple of 2 ft x 4 ft pre-cut tops, which meant that there was no overhang.

Why Upgrade It?
Well, there are a couple of reasons. First, I don’t like that I don’t have an overhang. You can’t really clamp anything without it! So, I need to add a lip. Second, I don’t love that the legs are on the outside of the frame. This is particularly a problem because of the lack of overhang. Anytime I’m trying to move in a straight line, such as to use my router, it gets in the way.
Third, I don’t love that it’s completely open on the bottom. It just creates an opportunity for me to basically throw stuff down there so it accumulates unusable scraps, garbage, and a TON of sawdust. And finally, it could use a little bit of a visual upgrade too! Nothing major, but let’s give her some love.
Deconstructing the Simple Workbench
First up was taking apart the workbench. This was honestly really simple! I started by prying up the workbench top using a crowbar. Then, I unscrewed the top frame from the legs. After that, I was able to remove the bottom shelf, and the bottom supports, and she was ready to re-build!


Reconstructing the Simple Workbench
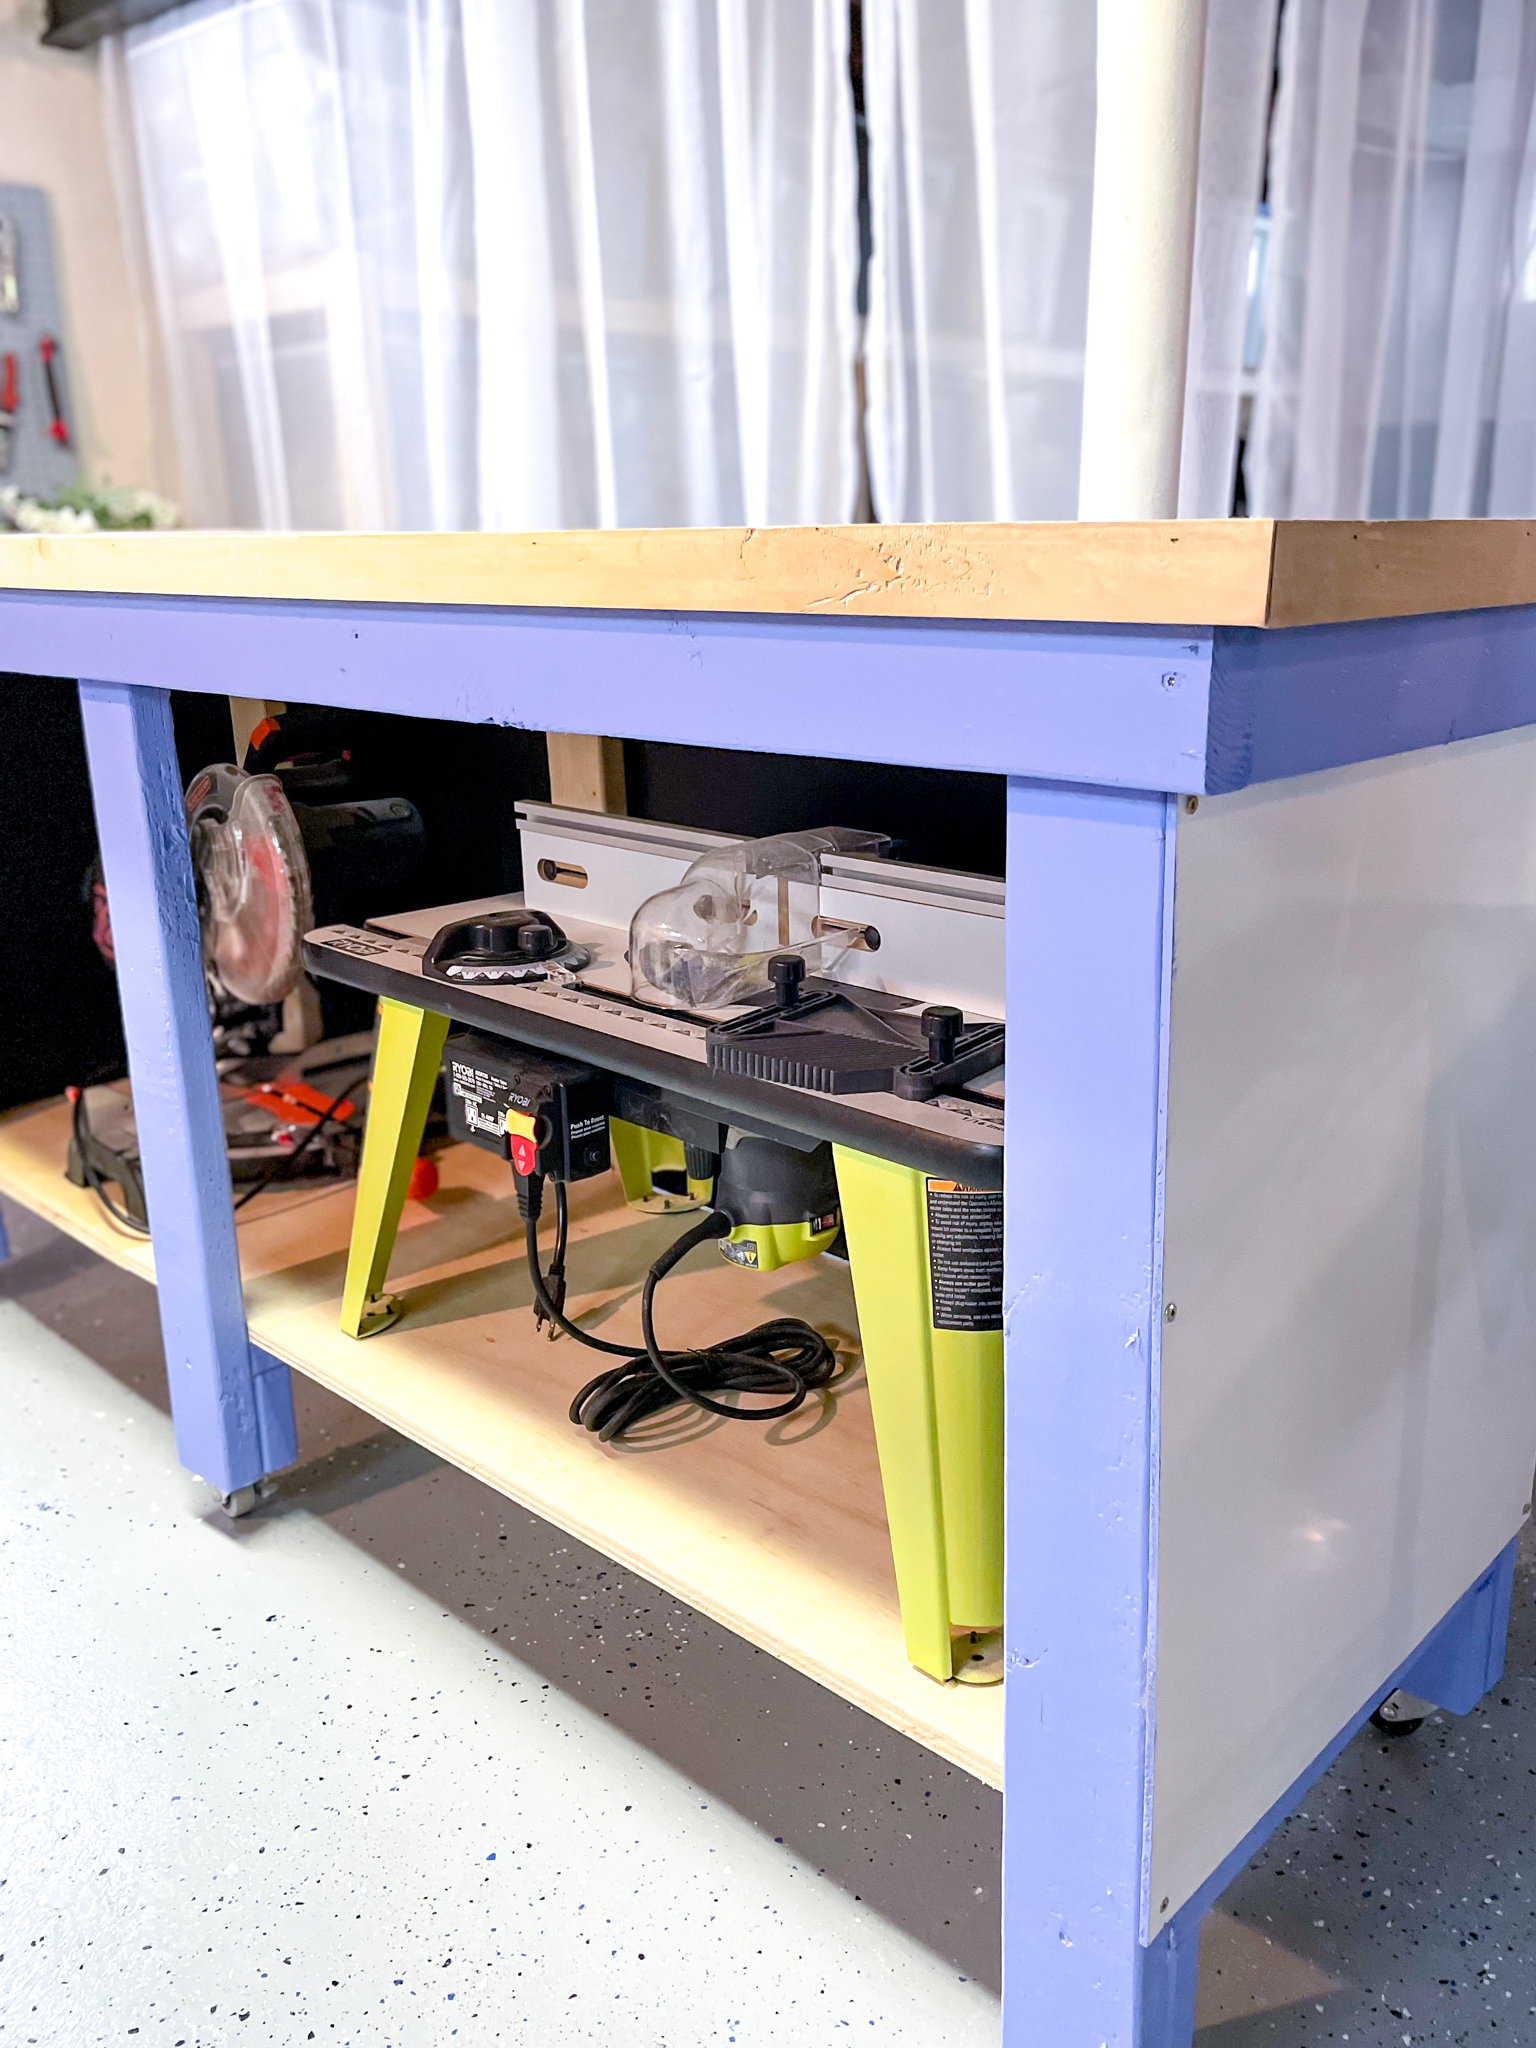
I started by re-installing each of the legs, but this time to the inside of the frame, instead of the outside. I also moved the middle legs over so they weren’t exactly in the middle. I knew that I wanted to store my router table and miter saw underneath, so I needed clearance to get my router table in and out. So, the middle legs are closer to 2ft in instead of 3ft.


Next, I cut down the bottom supports since there is less room down there now. Once they were the right size, I screwed them back in! I had to do the same with the bottom shelf and rip it down to size before re-installing it. I also swapped out my bottom and top pieces of plywood since the original tops were SO beat up.

Adding Dry Erase/Chalkboard Sides and Back
I knew that I wanted to go with a cheap material for the sides. Using ¾” plywood (or even ½”) just doesn’t make a lot of sense considering what it’s being used for. I had planned on just getting brown board which I’d paint. But, in the same section, I also saw a product that was a chalkboard on one side, and a dry erase board on the other side. It was only about $1 more for each (I needed 3), and I thought this could be a really cool option!
Because the center is brown board, you can cut and install it the same way. I used painter’s tape along the cut line on both sides to avoid any chipping of the top layers and cut using my Kreg jig rip cut and circular saw. Then I used a drill bit to pre-drill a couple of holes along the sides.


To secure it, I attached it right to the legs using 1 ½” Spax screws. I ultimately decided to do the dry erase side on the outside because I think I already have too much dust in my life down there, so I don’t need chalk dust too!
And honestly, I really love it! I think it’s such a fun feature, and also useful too!

Adding a Frame to the Top
To add a lip to the benchtop, I used a couple of 1x2s to frame it out. This was really easy and I cut them down to size using my miter saw, and installed them with my nail gun! I opted to do mitered corners for a more finished look.


The long side can be tricky to get exact, so I found it easier to cut it a bit longer, then installed the two shorter sides. Once they’re secure, just slowly shave off a small amount on the miter saw until you get an exact perfect fit!
Staining the Workbench Top
There should be no surprise here that I’m going with my favorite stain combination again! For the full rundown, check out my DIY Workbench post!
And of course, I sealed the top and bottom really well so that it hopefully holds up better this time!
Painting the Upgraded Simple Workbench
Deciding what color to paint this workbench (and the other workbench!) was pretty difficult! I really love the palisade blue color that I used for my pegboard. Unfortunately, it clashes a little when it gets too close to the gray color of the floor, so that was out. I loved the idea of doing navy blue, but because I used black as my accent color and on the stairs, I thought that would look out of place. So really, my choices were to go with white, black, or some other fun pop of color.
Well, I went with a pop of color! My new workbench has a pretty lavender color, but for this, I went with Behr’s Periwinkle!

I think having two coordinating colors just adds so much. And while I was at it, I decided to add this color to my lumber cart too! I didn’t do it everywhere, but on the outer parts, I added this an I love it!


