Let’s finish up Phase 2 of my 3-Phase Kitchen Remodel! This one is all about updating my old kitchen cabinets to turn them into drawers! I have a whole blog post on how to build drawers, so I won’t go too much into that here, but let’s talk about how to upgrade your cabinets to convert them to drawers!
Why Add Drawers
In my opinion, lower cabinets should always be drawers! Having shelves down low like that just creates an opportunity for chaotic storage, lost items, and disaster. Clearly, I’m not a fan! I wanted these cabinets to store my pots and pans, and to add a pull-out garbage bin. In the past, these cabinets held just a random collection of rarely used items. I was determined to make them useful again.

Gutting the Insides of the Kitchen Cabinets
The first thing we had to do was remove everything from the inside of the cabinets. I won’t lie, it was pretty dang nasty in there. There were several layers of contact paper covering the shelves, and crud that was probably DECADE’s old hiding in the back. Just like with my upper shelves, I did have to use my multitool to cut some nails, but luckily these shelves did come out a bit easier!


I also had to remove the old face frame, which honestly had seen better days. I did end up leaving the shelves in the middle corner cubby though. They just received a pretty good cleaning!
Adding Sides and Face Frame
In order to support my drawers, I did have to build some sides. I used 3/4 “ plywood which I cut to size and secured using pocket holes. I won’t lie, this was pretty tough. It can be hard to get these pieces completely straight and level when you’re a) working in a pretty tight space and b) working with old cabinet boxes that are DEFINITELY not level or straight. But, after a bit of sweat, and some extra hands from my husband, I was finally able to get them in.
Next up was to add some new face frame. I used 1×2’s which I secured with pocket holes. Now, you can do this before or after you install the drawer slides. I opted to do it before because I could use the face frame as a guide. But, because this was already a tight fit, it was REALLY difficult. If I were to do this again, I actually would’ve installed the slides to the sides BEFORE I installed those. But, you live and learn!
Building Kitchen Drawer and Drawer Fronts
I built these exactly the same as I explain in this post, so I would recommend using that. The biggest difference here was that I used a different drawer slide. The slide that I used in my other cabinets were sold out, so I opted for these. I liked the look of the black slides, but honestly, these are just much better! I’m actually planning on switching out the new cabinet slides to these very soon because they’ve started to shift around and some of the drawers have gone a little wonky. I can only imagine this getting worse over time, so I’d prefer to do it now before anything gets damaged!
Organizing my Kitchen Drawers
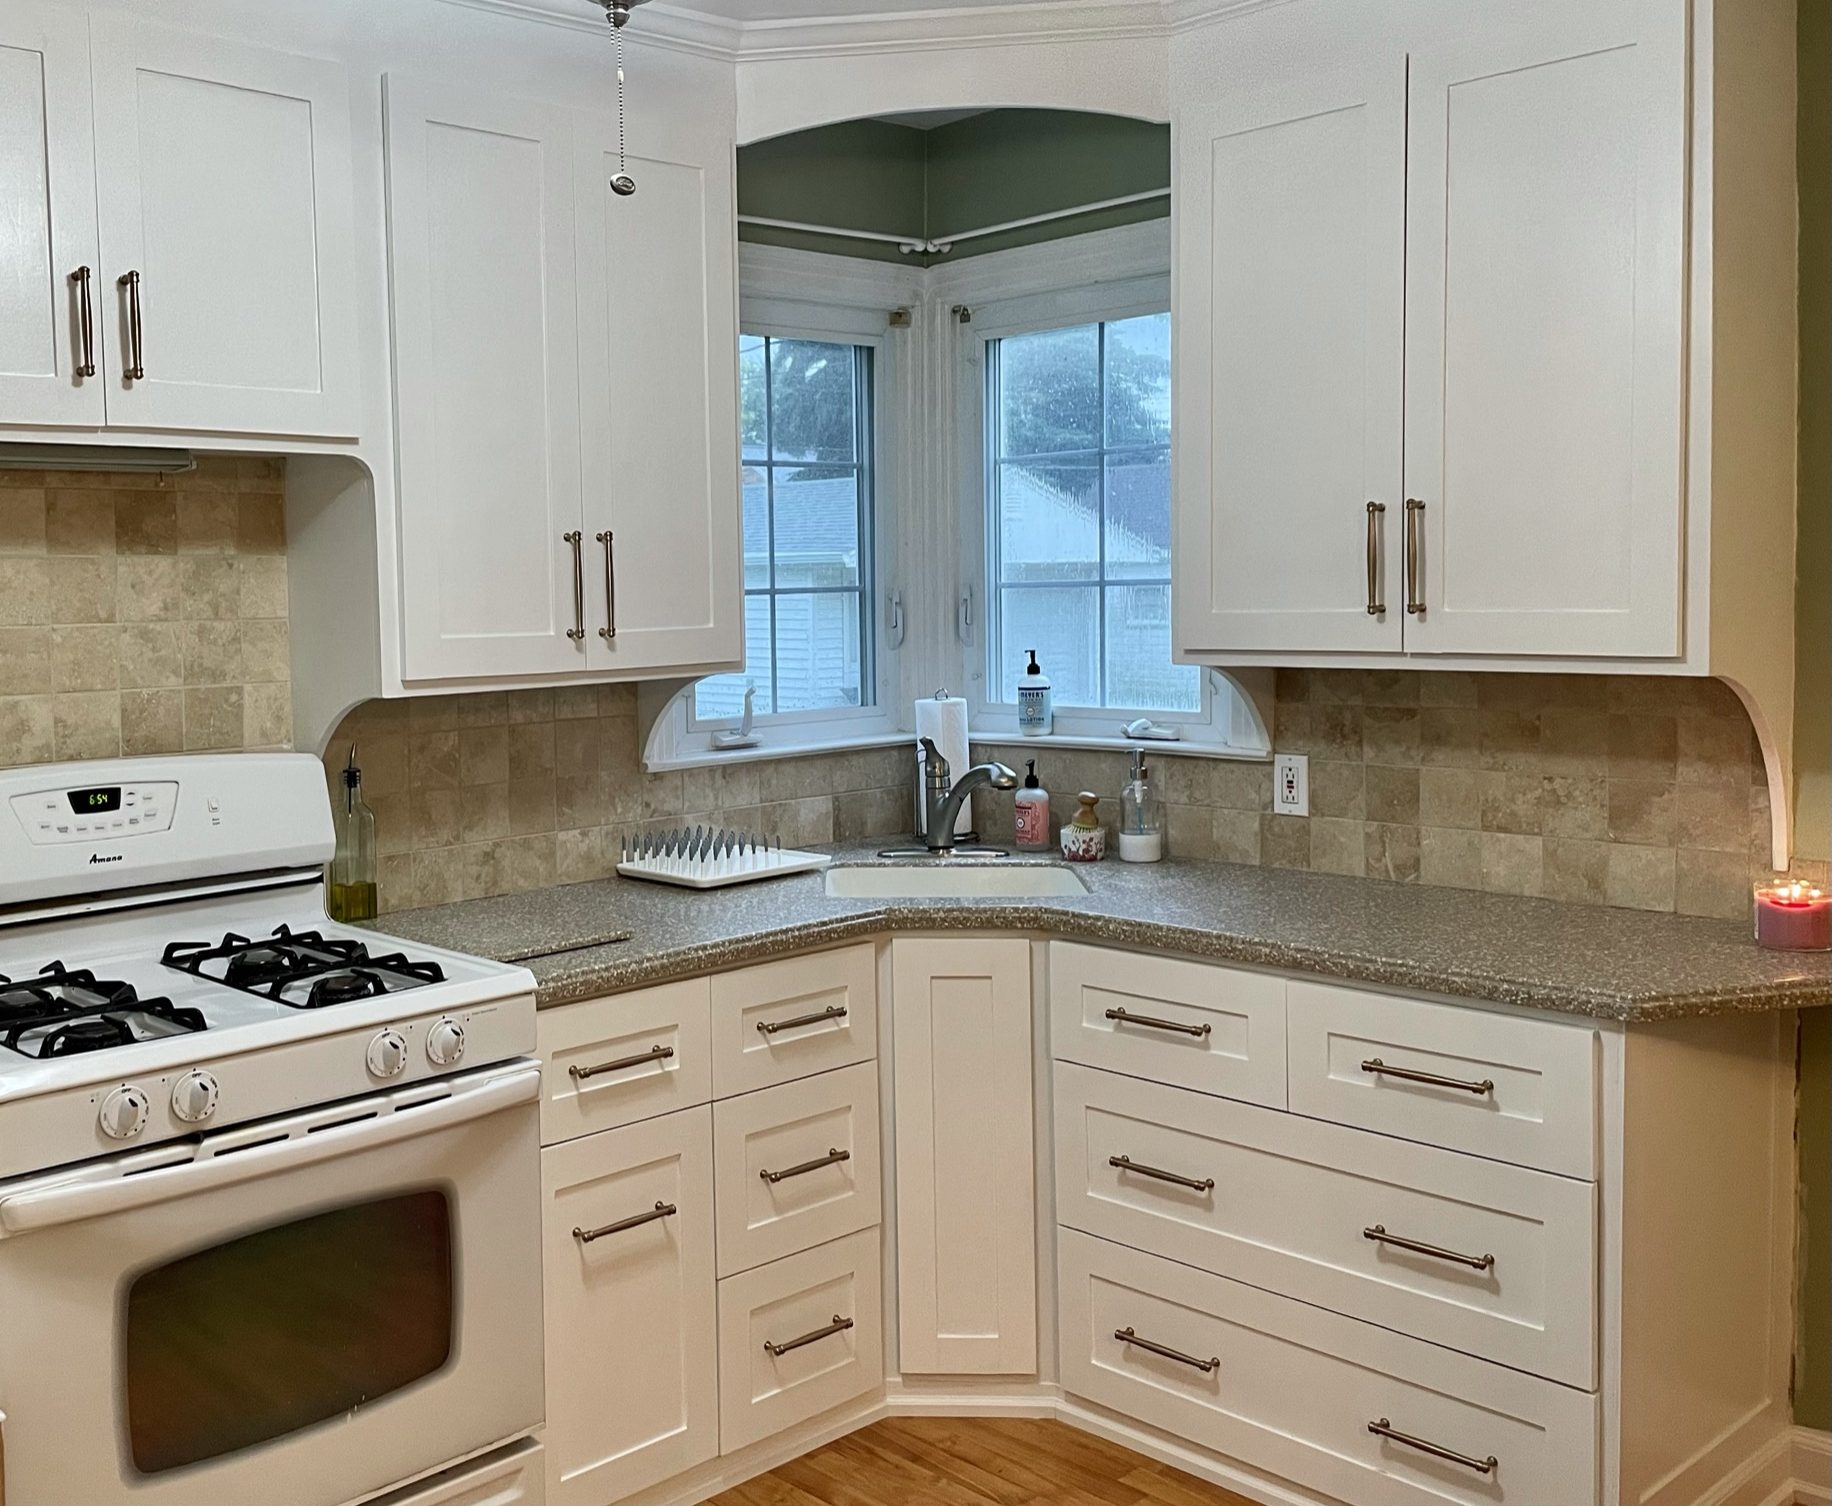
And the final step, getting everything organized! On the left-hand side, I keep my oven mitts and towels, and silverware in the top drawers. Below that is the garbage pull-out drawer, and then two drawers where I keep things like mixing bowls and extra garbage bags.
On the right, we have our utensils and junk drawers up top. Below them are all of our pots and pans. Honestly, this is such a dream and I absolutely love how everything came together. I added some dividers to our junk drawer to keep it from getting too out of hand. And for our cooking utensil drawer, I actually added a double drawer! This was really simple to do and I used scrap wood to build a mini drawer inside the other! We keep all of our most used utensils up top, and our least used ones right underneath.


What do you think? Have I convinced you yet to build drawers? Now that Phase 2 is complete, we can move right along to Phase 3: the Design! I’m going to be tackling everything from flooring, paint, countertops, trim, backsplash, lighting, and decor! You won’t want to miss this.